
Metylan Wallpaper paste
125 g, 1000 ml

Sometimes, there’s more to a package than just filler material. I made myself a Halloween costume from the leftovers. And what a result.
Looking back, I understand my friends’ puzzled reactions when I told them about my DIY costume project. «Are you insane? It’ll take forever,» they warned me. And they were right. Only, I wouldn’t realise that until later.
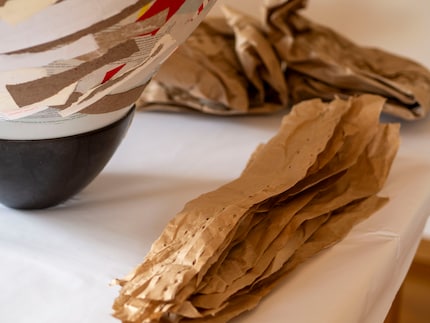
For an upcoming Halloween party, I really want to dress up in a Wrecking Ball costume famous from Miley Cyrus’ iconic music video. And since my last delivery came with a massive load of filling material, I took the opportunity to use the paper padding for my craft project right away.
For my Wrecking Ball, I’m daring to work with paste again after a long time. My last time was probably in elementary school. But unlike back then, I’m not decorating a little balloon, but a stately 90-centimetre-diameter inflatable. I was inspired by these alien costumes. My goal is to hide my legs in the papier-mâché ball while Miley Cyrus’ legs hang over the wrecking ball and I slip into her upper body.
Besides the brown paper padding, I used a large balloon, wallpaper paste, a scalpel, acrylic paint, lots of newspaper, an old pillow, an elastic strap and a beige onesie. Pretty Harlem Shake-esque, that last one.

Metylan Wallpaper paste
125 g, 1000 ml
1. Cutting strips
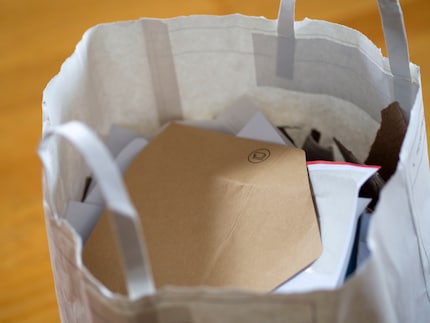
In preparation, I spent an evening cutting up all the waste paper with scissors. In hindsight, I’d have cut wider strips at this point. I definitely didn’t do myself any favours with my skinny ribbons.
2. Inflating the balloon
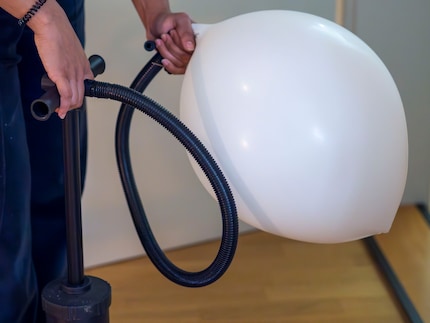
Luckily, I had a spare balloon; the first one burst at two-thirds capacity. I inflated the second one using a pump without any problems. Once at the right size, I put it in a bowl and fixed it with painter’s tape. A bucket and a more stable foundation would also have proved useful in retrospect.
3. Pasting, part one
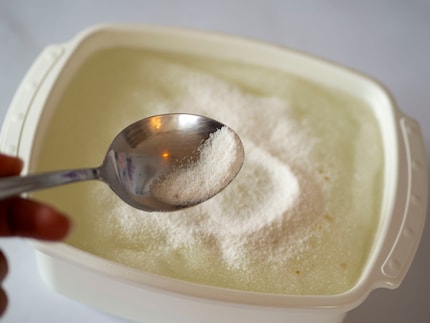
As described in the instructions for my wallpaper paste, I poured four heaped spoonfuls of the powder into a litre of water and left the mixture to thicken for 30 minutes. Then, chaos: I pulled strip after strip through the paste, goo spreading all over the living room. My hands seized up, my stamina left me. For the first two layers with my narrow strips, I worked late into the night. Three more layers followed that. I needed at least two hours longer than the next day with wider strips.
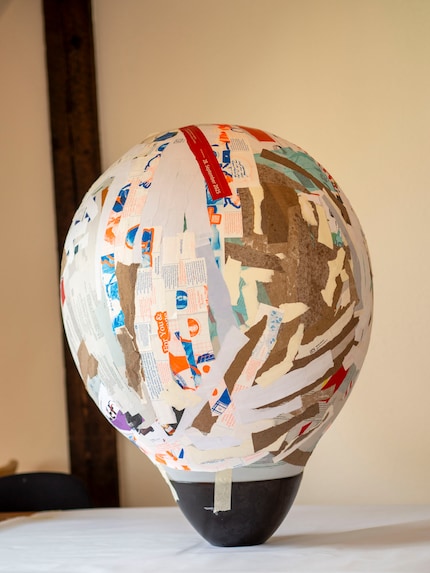
4. Pasting, part two
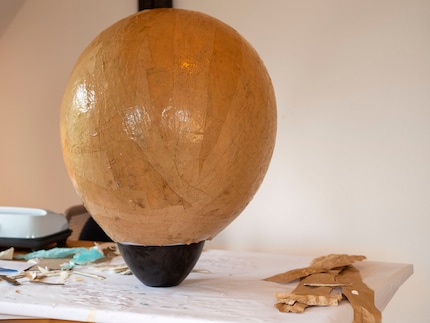
The next day, I realised my patience was wearing thin. My first coat was dry after twelve hours. So, I cut the paper into much wider strips. Lo and behold, a few hours later, layers three, four and five were already stuck to the ball.
5. Brushing and painting
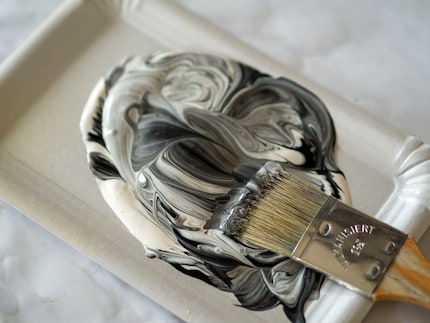
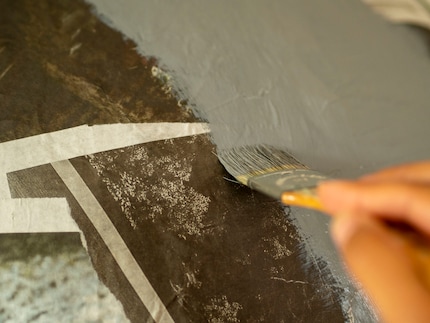
I waited another three days until the paste dried to paint the balloon. For this, I mixed black and white gouache paint. Acrylic would probably be more water-resistant, but I couldn’t find it at home. I painted over the cardboard twice, all in all.
6. Getting the ball Halloween-ready
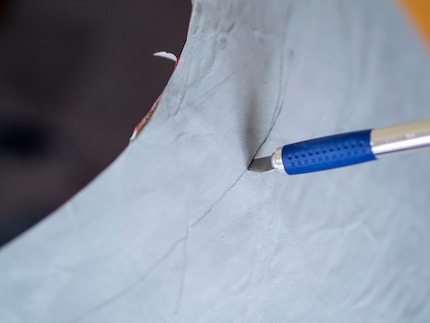
When the paint was dry too, I popped the balloon inside my wrecking ball and enlarged the bottom hole. I noted the right spot on the opposite side and used a scalpel to cut out a second hole for my upper body.
7. Miley’s legs
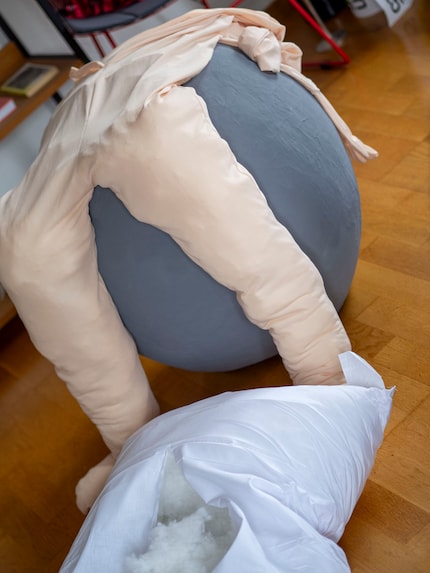
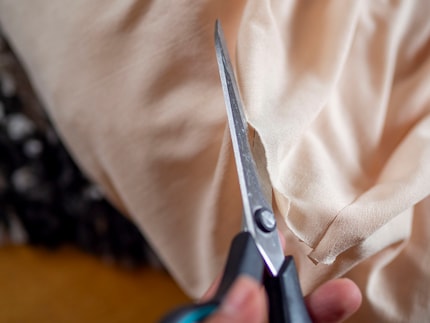
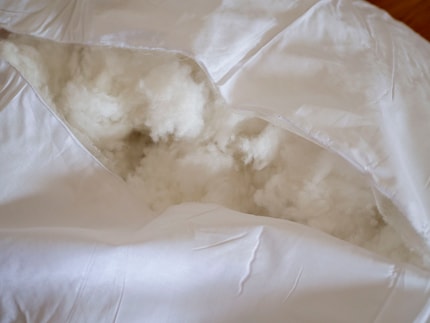
I first removed the head from my full bodysuit with scissors. That’s where mine will go, after all. Then, I made a small cut in the back. This allows me to slip into the one-piece through the wrecking ball at the back. I filled the legs with polyester wadding from a cushion I found at a second-hand store.
8. Elastic suspenders
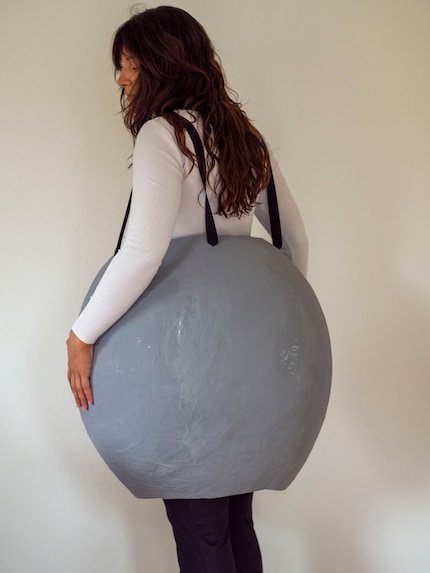
Since I wanted to have my hands free at the party and didn’t want to carry the ball around, I attached rubber suspenders to the ball. To do this, I cut out four triangles with a scalpel and threaded two elastic straps through each, knotting them together after. Behold, a wrecking ball you can wear like a pair of trousers.
9. Two become one
As soon as the grey ball was at the right height, I pulled the bodysuit over my upper body. The wrecking ball and I merged together.
And I had to laugh.
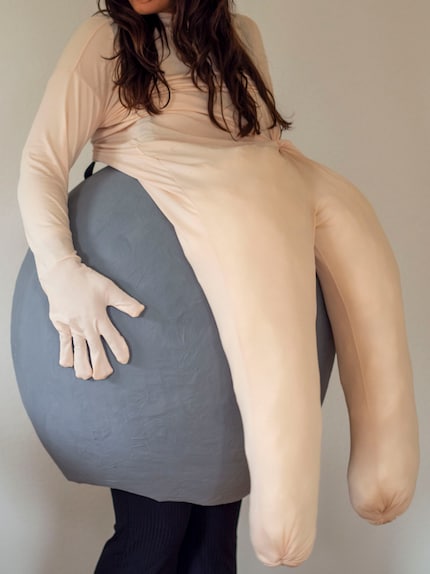
Not exactly perfect. But hey, the costume’s charming precisely because of its wonkiness. And maybe it is just a little creepy. Good enough for me.
Painting the walls just before handing over the flat? Making your own kimchi? Soldering a broken raclette oven? There's nothing you can't do yourself. Well, perhaps sometimes, but I'll definitely give it a try.
Practical solutions for everyday problems with technology, household hacks and much more.
Show all