
3Doodler Start PLUS 3D PRINTING PEN SPLUS 3D pen 0.77 mm Turquoise, Yellow

You can create your own world with the 3Doodler pen. Model a skyscraper or the Eiffel Tower? Piece of cake!
In principle, the pen works like a 3D printer – just in pen form. The filaments (thermoplastic material) are heated inside until they melt slightly and emerge from the tip of the pen. I can line up or layer the soft material to create my desired motif.

3Doodler Start PLUS 3D PRINTING PEN SPLUS 3D pen 0.77 mm Turquoise, Yellow
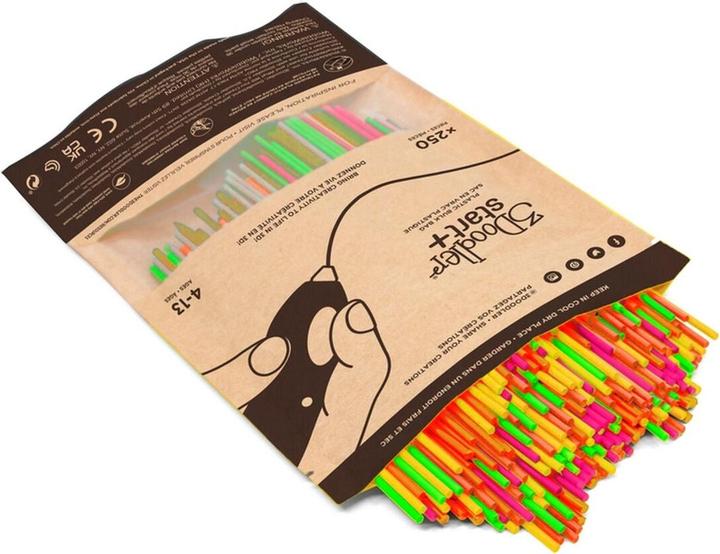
The printer pen comes with 72 filaments in eight colours and an instruction manual with tips for beginners and various templates.
To get started, I try to print a standing name tag. That’s what the instructions suggest. To do this, I switch on the pen, insert a filament into the rear opening and wait until the green LED gives me the signal to start.
I press the start button, and immediately the melted plastic flows uncontrollably out of the tip of the pen. Surprised, I look at the messy pattern that appears – that’s certainly not my name.
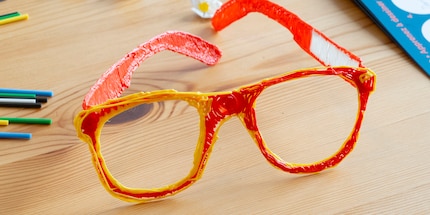
After a few attempts, it goes well and I dare to try crafting the horn-rimmed glasses from the start guide. To do this, I «draw» directly onto the template in the book. After a few seconds, the plastic hardens and I can bend the book pages so that the bracket and frame detach from the surface. I glue the three parts together, and bam! I’m holding a new pair of glasses. They’re surprisingly stable, although I didn’t apply a second layer of filament over the first.
On the last page of the instructions, I find a template for the Eiffel Tower. «Challenge accepted!» I think to myself and get started. But the pen – it won’t go. Turns out the switch was on the whole time and the pen ran out of juice even though I wasn’t using it. I charge it via USB-C and wait an hour.
As soon as the battery’s full, the next challenge comes my way. I want to make my monument pink, but I have to use up the yellow filament that’s still in the pen first. And since I don’t have use for the yellow stuff at that moment, I let the remaining plastic flow out of the pen into a little pile, then throw it in the bin. Waste that could’ve been avoided.
The last yellow residue is out, and pink plastic now emerges from the tip of the pen. I start with the coarse-meshed bottom segment of the Eiffel Tower. I can easily trace the diagonal lines, but the narrow grid is almost impossible. Instead, I have to improvise and snake along the lines.
I then draw the individual segments four times each and glue them together at the corners. Soon, I realise that the pink filament supplied is by no means enough for the whole tower. All right, it’ll be two-tone then.
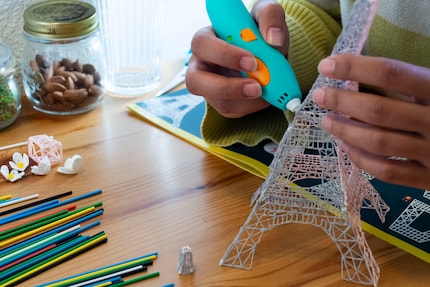
Almost all the grey and pink filaments go into building my tower – lucky I hadn’t already used them elsewhere. Using green, white and yellow filaments, I then have the Eiffel Tower spontaneously overgrown by climbing plants.
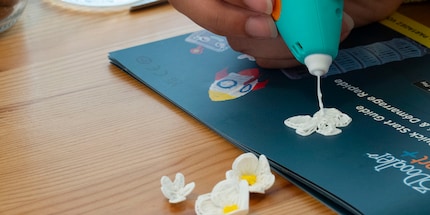
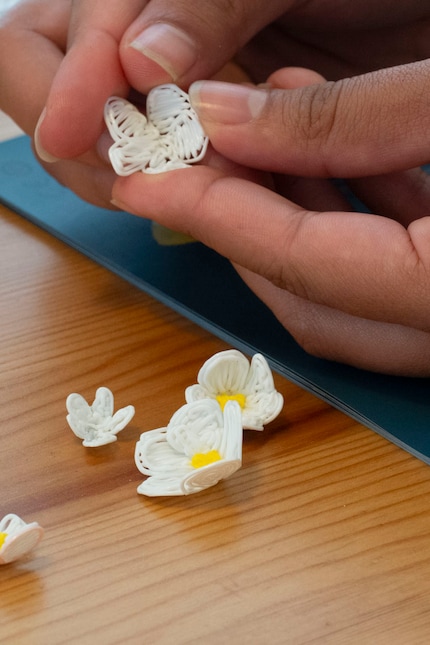
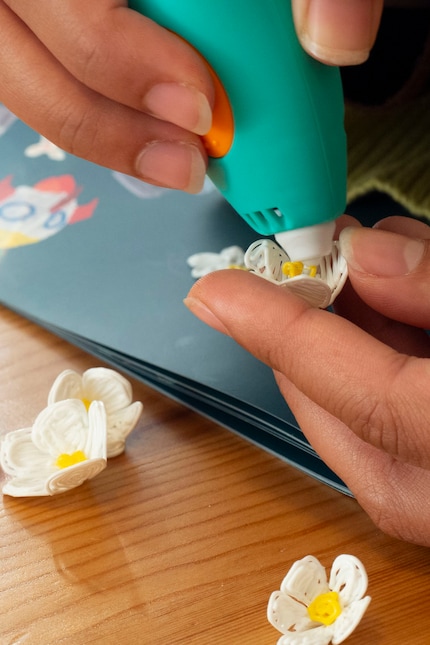
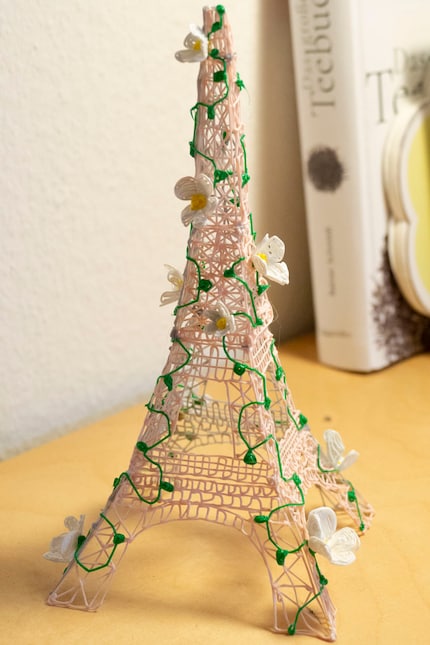
There are no limits to your imagination with this pen. I’m still trying out my own creations with the remaining filament. For example, a pair of glasses for my pocket-sized Kroco Doc.
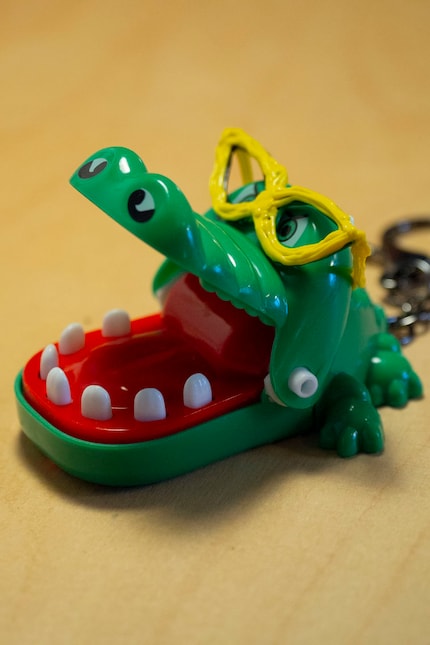
All my creations retain that amateurish touch during my review. After all, the pen sometimes spits out the filaments randomly, leaving individual layers very visible. Over time, I know how high I have to hold the pen for my objects to take shape.

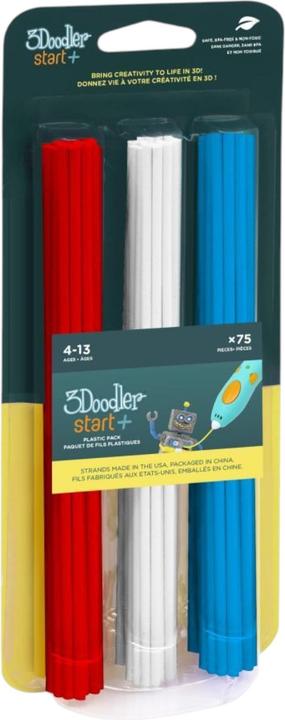
3Doodler Start 3DS-ECO-MIX1-75 3D Printing Material Compostable Plastic
PLA, 2.50 mm, 90 g, White, Blue, Red
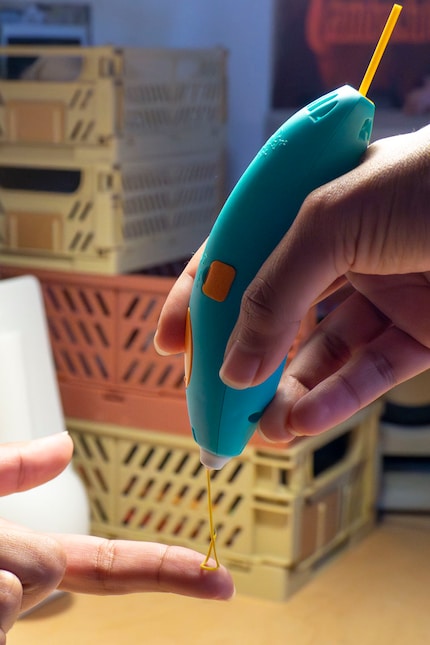
I consider the pen suitable for children. Although it melts the filament, neither the tip nor the plastic itself gets too hot. I can even slide the warm plastic onto my fingertip without burning myself. Of course, I don’t recommend the 3D pen for actual skin contact.
Pro
Contra

3Doodler Start PLUS 3D PRINTING PEN SPLUS 3D pen 0.77 mm Turquoise, Yellow
Painting the walls just before handing over the flat? Making your own kimchi? Soldering a broken raclette oven? There's nothing you can't do yourself. Well, perhaps sometimes, but I'll definitely give it a try.