Guide
Maker 4: How to make your first project with the cutting plotter a success
by Stefanie Lechthaler

My previous attempts at iron-on printing have all ended in frustration. Today, however, my transfers work like a charm with the Cricut EasyPress 3.
Many moons ago, I teamed up with one of my school classmates to design jerseys for an informal sports tournament we’d entered. We were a little overzealous with the heat when ironing «Blue Girls» onto our shirts, making the ink go dark as a result. We rocked up to the tournament in our ugly jerseys, only to lose every single game.
Following that double dose of frustration, I never attempted heat transfers again.
Today, that’s about to change.
As well as numerous cutting machines, Cricut sells a range of heat presses in different shapes and sizes. I’ll be having a go at heat transfer with the EasyPress 3. At 30.5 × 25.4 centimetres, the surface should be big enough to handle my future projects.
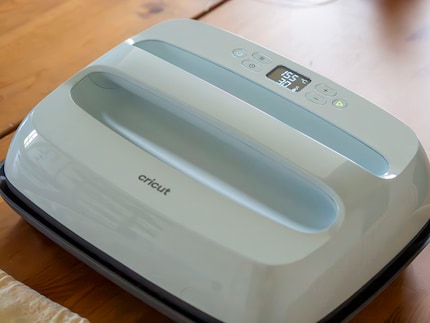
Unlike conventional irons, heat presses work without steam. Instead, they release heat evenly across an entire surface at a preset temperature. The advantage of this? Prints and transfer sheets are heated for the same amount of time in all areas.
Tipping the scales at four kilos, the EasyPress is surprisingly heavy. The heat plate is what contributes most to the weight – in other words, the exact component you need to lift in order to do a transfer.
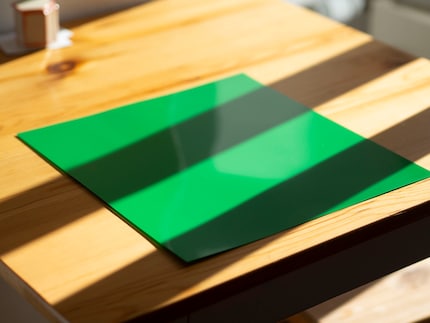
In the box, you’ll find the device, a jute bag, a sheet with the Cricut logo for your first print, and the instructions. Unfortunately, a mat isn’t included, even though they prove essential for heat transfer projects.
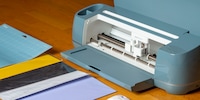
The Cricut logo’s too boring for me, so I buy myself some extra vinyl sheets and create my own design using a Maker 4 cutting machine.
The Maker 4 Essential Bundle comes with a selection of Smart Iron-On sheets. «Perfect,» I think to myself, convinced that I can start printing my clothes right away. As it turns out, it’s not that simple. After doing a little digging, I realise there’s a whole universe of different transfer sheets out there. Each one’s suited to a certain material and works with its own temperature. Cricut gives a brief introduction to Iron-On materials on its website (in German).
In the blog, Cricut explains that Smart Iron-On sheets are suitable for most fabrics, so I guess I’m in luck after all. Meanwhile, materials like Sportflex are only meant for high-polyester fabrics; they don’t work as well on pure cotton.
In theory, I should be ready to do my first transfer. When I turn on the device, however, the display tells me I won’t get any further without the app. I mess around with the buttons, but nothing happens. The text on the screen doesn’t change. I guess I really do need the software on my phone.
In the end, I give in and download the Cricut Design Space app. After logging in, I go straight to the setup menu. Only to be redirected to the Apple Store the moment I select the heat press! To use the heat press, I apparently also need to download the Cricut Heat app. Although, at this point, I’d rather chuck the device out the window. It’s unfathomable.
Annoyed, I log into the second app and the device connects to my phone via Bluetooth. The screen on the EasyPress switches to start mode. Finally.
In the app, you can set a temperature and heat duration for the press. You can also set this manually on the device after you’ve logged into the app. In addition, the app gives you a selection of Infusible Ink transfer tutorials, the user manual and a link to the heat guides. These guides tell you the temperature and duration needed for the transfer material and objects you’re working with.
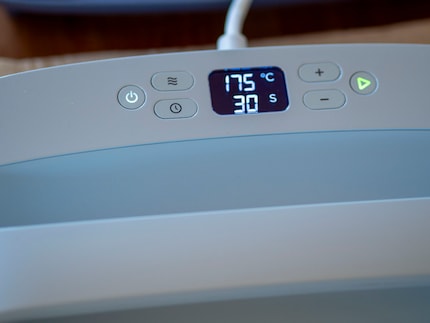
On the app homepage, I select «Smart Iron-On» and «Tote Bag». The heat guide recommends setting the heat plate to 155°C and holding it down for 30 seconds. The fabric also has to be preheated for five seconds first.
Since I don’t have a mat yet, I fold up an old, thick bath towel and put it on the table to prevent it from getting scorched. In the user manual, Cricut recommends the same thing. I set the EasyPress to the temperature and time specified in the instructions and wait for it to signal that it’s ready.
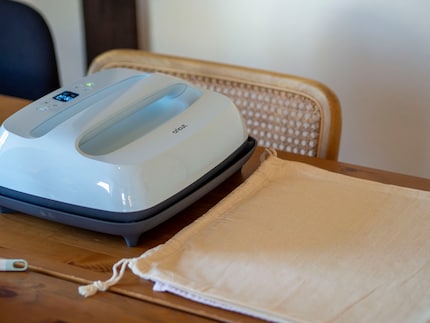
I then press the heat plate down onto the jute bag, running it over any wrinkles in the fabric until it’s almost completely smooth. This prevents the print from going wonky, while also preheating the fabric. I pop the heat plate back onto the safety base before positioning my design with the matt side on the fabric.
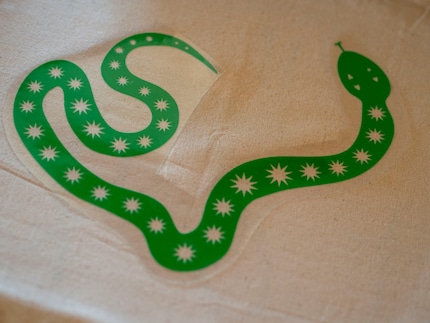
After that, I press the heat plate back down onto the design and push the start button. A countdown tells me how long I’ll have to wait. When the 30 seconds are up, there’s a beeping sound. Time to take the heat press off the fabric.
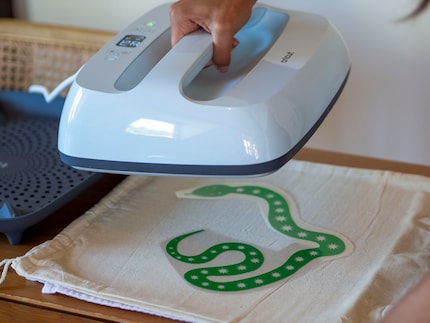
Once the transfer sheet has cooled down enough, I lift it slightly. The edge of my print is still stuck to the sheet, so I pop the heat plate back on it for a few more seconds. The second time around, everything’s printed firmly onto the fabric. I carefully peel off the whole transfer sheet, revealing the finished design on the bag. Wow. The entire snake has been printed onto the fabric – right down to the finest details. According to Cricut, the print needs to be left to cool down. I also need to wait 24 hours before machine-washing the bag.
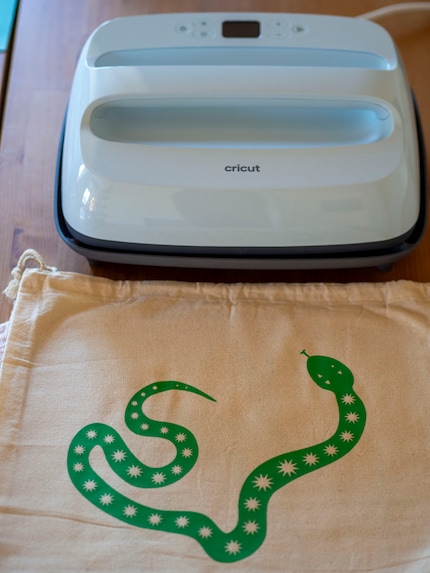
These transfers supposedly last 50 machine washes. However, you do have to wash them inside out, at a low temperature. My verdict? These prints may not last forever, but they look a whole lot better than my old Blue Girls jersey.
Pro
Contra
Painting the walls just before handing over the flat? Making your own kimchi? Soldering a broken raclette oven? There's nothing you can't do yourself. Well, perhaps sometimes, but I'll definitely give it a try.