
Maker 4: How to make your first project with the cutting plotter a success
T-shirt prints, cards or stickers: I'll show you step by step how to tackle your first project with the cutting plotter.
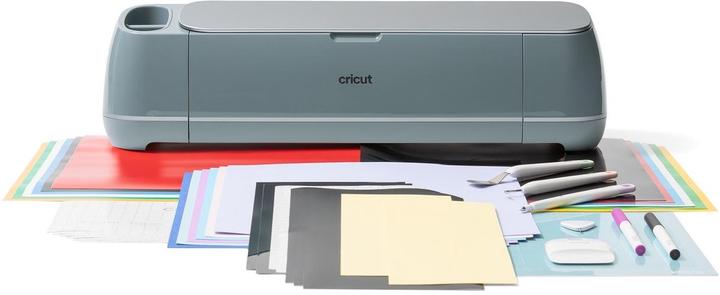
Cutting plotters are a great tool if you regularly cut out designs from different materials for your projects. The devices simplify the work and immediately give your work a higher quality look thanks to the clean cut edges. This can range from pocket fold cards to prints for T-shirts and stickers. My first project with the Maker 4 was a self-designed bookmark. Now I'll introduce you to the maker's design programme so that you can design your own creations with it.

How to find your way around the programme
To use the cutting plotter, you need the Design Space programme, which connects your computer to your device. You can organise, arrange and edit your plots in Design Space. I'll briefly explain how the programme is structured.
Collection: This is the main folder for your project. This is where you store the templates for your plot and your images. Without the paid plan, you can create up to five such collections.
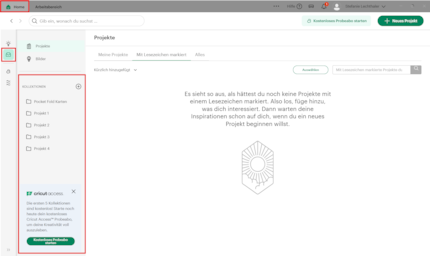
Projects: The projects are the actual templates for your plots. You specify how large the backing paper is and how large your designs should be. You also arrange your illustrations here.
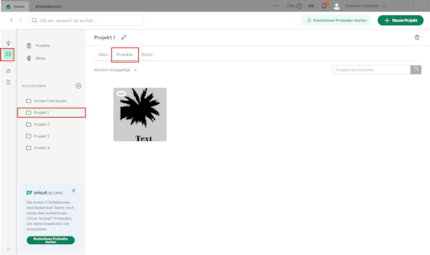
Images: This is the collection of your illustrations, texts and designs that you have loaded into your projects. You can call them up again and again and use them for new projects.
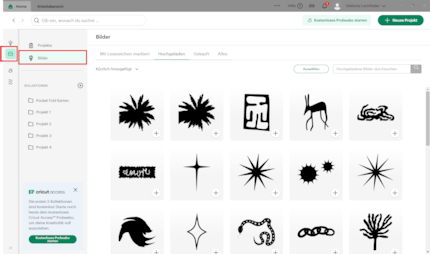
Creating a design: Decide on a design method
It is important for the cutting plotter that the content consists exclusively of black and white areas and contours. This is the only way it can recognise which lines it should cut along
The first step is to decide what type of design is suitable for your project. Should it retain the handmade DIY look, do you want to use your own illustrations or would you prefer to use a template? Depending on the type of design, you will need to make different preparations.
Option 1: Templates and predefined designs
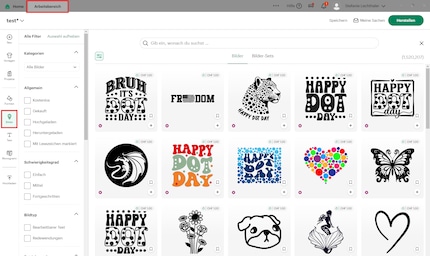
To use Maker 4, you need to register in Design Space. The free membership gives you a small selection of designs, texts and icons that you can use. However, the majority of the elements are subject to a charge. You either have to pay for them individually or take out a «Cricut Access plan». The advantage of these designs is that they are already prepared so that you only have to drag them into your project.
Alternatively, you can create your templates in free programmes or on websites such as Canva. It is important that you can export your designs at least as a JPG file and even better as a PNG file without a background. Ideally, you should export your project directly as an SVG vector file, although many suppliers charge a plan for this function.
Option 2: Scan and transfer hand drawings
Hand drawings should be scanned with a high contrast so that the programme can recognise the contours and areas and completely remove the background. It is best to draw the illustrations in one colour only and then scan them in black and white.
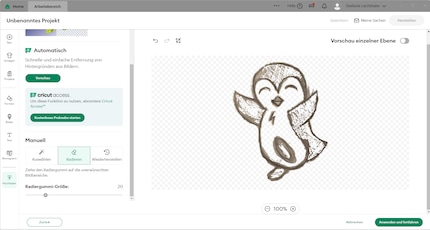
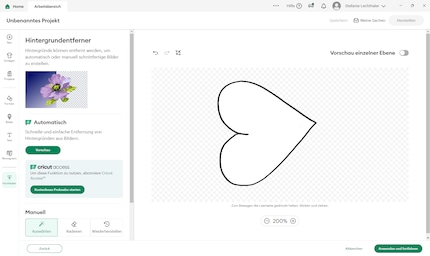
Source: Screenshot Cricut Design Space
It is possible to print hand drawings via the Cricut design space using the «print, then cut» option for stickers and other designs, but I will go into this in more detail in another article.
Option 3: Convert drawings to digital illustrations
My favourite method is to digitise my drawings. This allows me to prepare them perfectly for plotting, even though they are drawn by myself. I use the programme «Adobe Illustrator» for this. As soon as I have scanned the drawings, I load them into the programme and convert the illustration into a vector file using the «image tracing tool». I then edit the contours and fill in the areas that the plotter should not cut out.
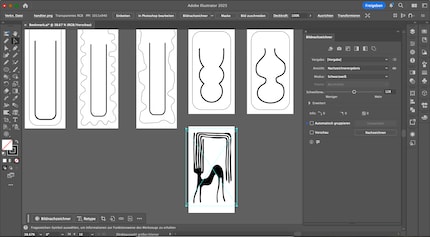
This method gives me a good overview of what the final product will look like. I also export these illustrations as a PNG or vector file.
Alternatively, you can use the free «Vectorise» function from Adobe Express or vectorise your drawings directly in Cricut Design Space with the paid «Cricut Access subscription».
Create a plot: Arrange your designs in the project space
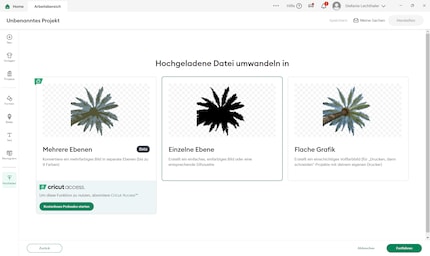
Click the «Create» button to open a new project. At first, you will only see a gridded area in the workspace.
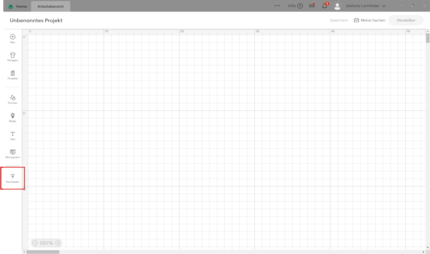
As soon as you insert an image in the «Upload» area, remove the background and place it in a collection, a tool selection appears at the top of the programme.
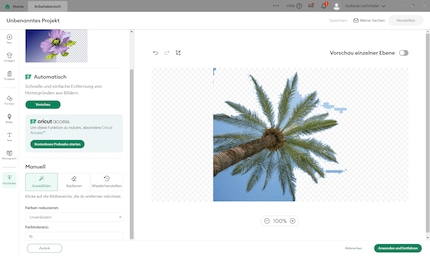
Source: Screenshot Cricut Design Space
Use this to edit your illustration. For many tools you need the «Cricut Access plan», but you can use the most important ones - such as resizing and aligning - for free.
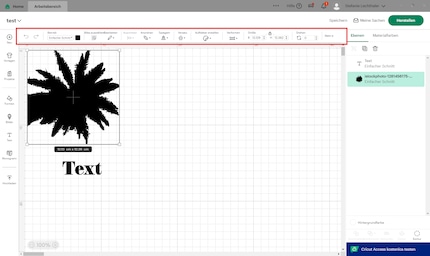
For a normal cutting plot, select the option «Simple cut» on the right-hand side of the toolbar. The cutting plotter will then cut along your contour.
Free texts and images: As already mentioned, some fonts for texts and images are available for free or a large number are available for a fee. You can find these on the left-hand side of your workspace. You can drag them directly into the design space and use them for your projects.
Creating a plot: placing a plot order
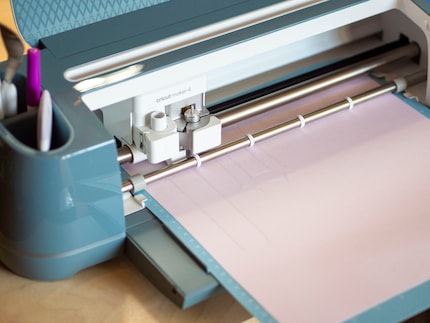
Have you arranged all your illustrations? Then you can select «Create» at the top right and assign your project to a collection. In the next step, the programme will ask you which materials you are using. If you are not using any of the «Smart» materials from Cricut, you must place the material on a cutting mat.
Source: Stefanie Lechthaler
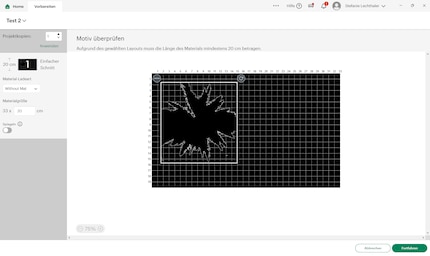
Your designs should now be aligned so that they all fit on your material. However, you can also optimise the alignment yourself and change the material length if the default is not correct.
Creating a plot: The plot starts
Once your motifs are in the right place and you have selected the correct material size, you can access the print menu via the «Continue» button - provided the Maker 4 is connected to your computer via Bluetooth.
In order to start the print job, you must select the material type and, if necessary, insert a different cutting blade. Otherwise, the vinyl cutter will not execute the job.
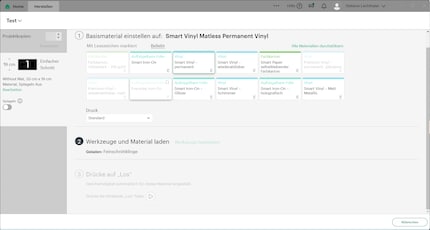
Before Maker 4 starts the job, it measures the paper size and checks whether it matches your specification. Then you press the start button on the device and the cutting plotter starts cutting the designs according to your specifications.
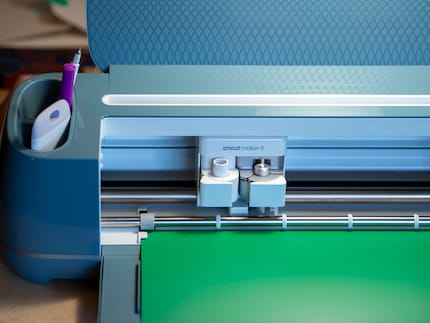
Source: Stefanie Lechthaler
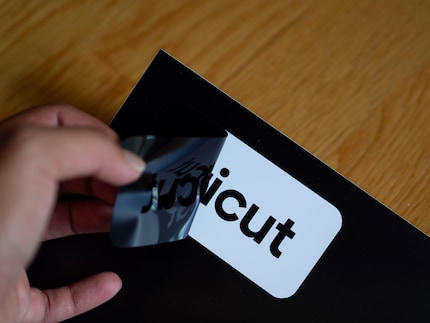
Source: Stefanie Lechthaler
Are you interested in everything to do with the Cricut world? Then let me know in the comments what you'd like to see and look forward to more heating press projects coming soon.
Follow me as an author so you don't miss any craft projects.
Painting the walls just before handing over the flat? Making your own kimchi? Soldering a broken raclette oven? There's nothing you can't do yourself. Well, perhaps sometimes, but I'll definitely give it a try.
Practical solutions for everyday problems with technology, household hacks and much more.
Show all
